

 Español
 عربى
عربىThe answer: place your dish drying rack on the counter directly beside the sink, on the same side where you store plates and glasses, and aim the drain edge toward the sink. This keeps the washing-drying-storing sequence short, returns rinse water to the basin, and gives the rack a permanent home so you do not have to lift it in and out of a cupboard several times a day.
If your kitchen cannot spare about 40 cm of counter on either side of the sink, the next best options are an over-the-sink rack, a wall-mounted rack above the counter, or a hidden rack inside a pull-out cabinet. The right choice depends on three things: how many dishes you dry by hand each day, how much clear space the sink area offers, and whether you accept a permanent rack on the countertop.
Why the Counter Beside the Sink Is the Best Default Position
The counter zone immediately left or right of the sink is the best default position because it keeps rinsing, draining, and storing all within arm's reach, and it lets dripping water return directly to the sink without crossing the countertop.
When the layout allows you to choose, pick the side that faces your plate and glass cabinets. You should be able to lift a dried plate from the rack and set it into the cabinet without turning your body fully around. If the sink is centered, use your dominant-hand side: right-handed cooks usually prefer the right, left-handed cooks the left.
Minimum Clearance for a Counter Rack
A standard dish drying rack needs 40 to 50 cm of counter depth and about 35 to 45 cm of width, so measure the chosen spot before you buy a rack.
- Leave at least 10 cm between the rack and the sink edge so wet hands can reach the faucet without splashing water behind the rack.
- Keep at least 5 cm between the rack and a side wall; plates being lifted out of the rack need room to clear the edge without scraping.
- Check the faucet swing: if the spout arcs over the rack area, tall glasses on the rack may block the stream of water when you need to rinse the sink.
- If the dishwasher sits next to the sink, open its door fully before committing to a rack position; the open door often overlaps the ideal rack footprint.
Drainage Setup That Keeps Countertops Dry
Drainage, not the metalware itself, decides whether a location works well; water must flow back to the sink or into a tray that is easy to empty.
Position the rack so its drain spout or drip tray points toward the sink. If the spout faces the counter instead, place a water-absorbent dish mat under the entire footprint and empty the drip tray after every wash. For a household of four, choose a rack with a drip tray capacity of at least 200 ml; smaller trays overflow quickly and push water across the counter within a single load of plates.
Primary Placement Options Compared
Beyond the classic counter spot, three alternative positions cover almost every kitchen layout; the best one for you depends mainly on available counter width and how often the sink area is used for food preparation.
1. Counter Beside the Sink
This is the most popular location, and it works best when you can dedicate at least 40 cm of counter permanently to the rack.
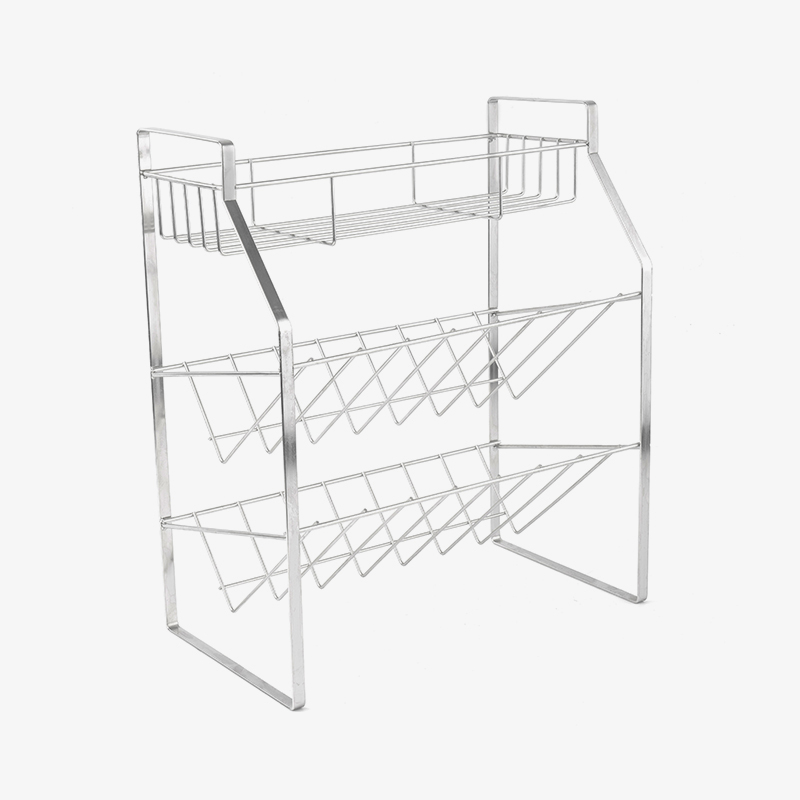
Set the rack on the side of the sink that faces your cabinet storage. In a double-sink kitchen, use the smaller wash basin for rinsing and put the rack on the counter next to the larger drainboard side, where the drying zone naturally continues. A stainless steel drain rack with a utensil caddy consolidates plates, bowls, glasses, and cutlery in one footprint, which keeps the remaining counter area free.
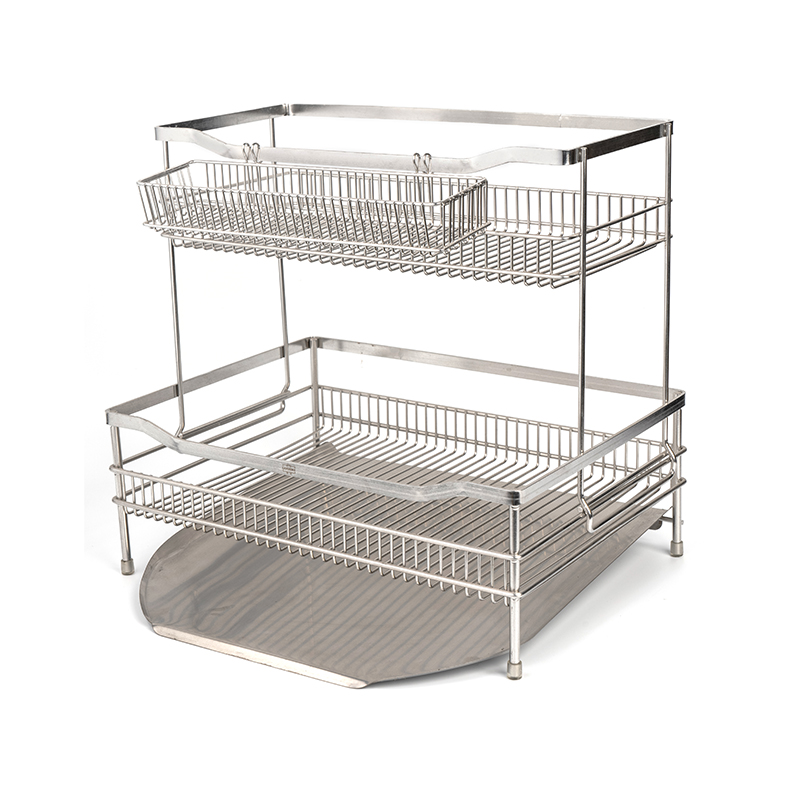 Wholesale Stainless Steel Double Layer Dish Drying Rack with Drainboard ManufactYuyao City Chengze Technology Co., Ltd is China OEM/ODM Stainless Steel Double Layer Dish Drying Rack with Drainboard manufacturers and S...View Product →
2. Over the Sink
An over-the-sink rack is the best space-saving placement because it converts unused vertical space above the basin into a drying zone, and every drip falls straight into the sink.
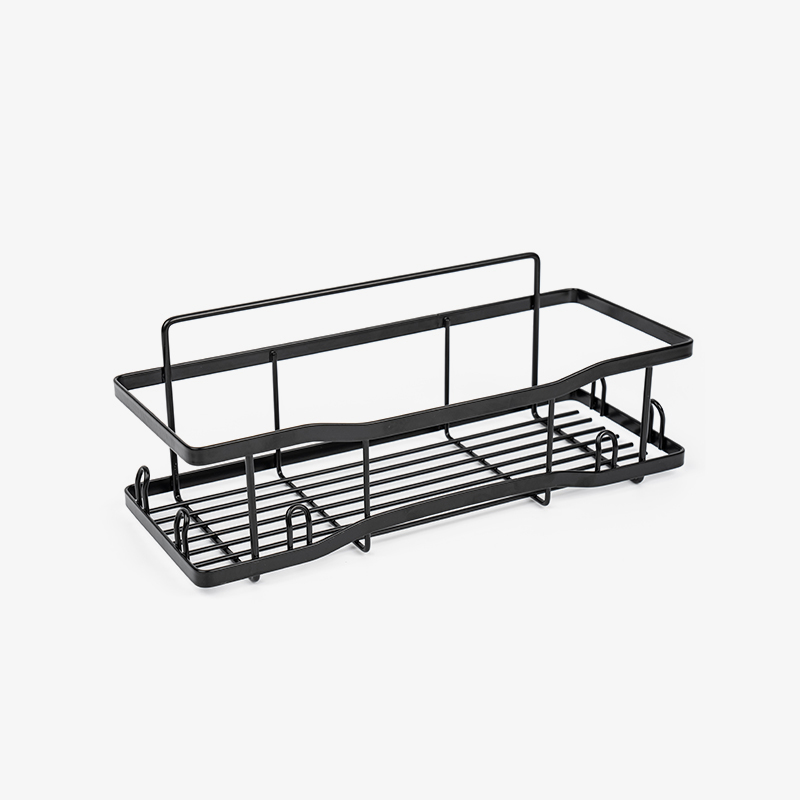
This option suits small kitchens where a permanent 40 cm counter spot does not exist. The trade-off is sink access: while the rack is in place, washing vegetables, filling a large pot, or rinsing the basin becomes more awkward. Choose a compact model that slides to one side or folds flat so you can reclaim the sink when needed. A narrow kitchen drain rack works well for this role, especially when paired with a drip tray that matches the width of the basin.
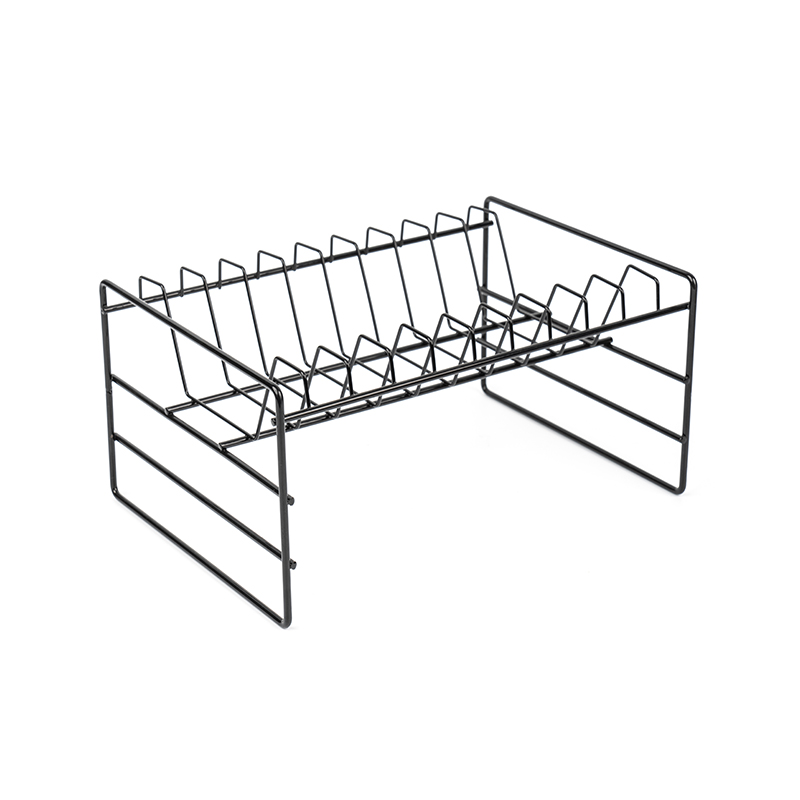 Wholesale Black Multifunctional Sink Storage Rack for Utensils Manufacturer, FacYuyao City Chengze Technology Co., Ltd is China OEM/ODM Black Multifunctional Sink Storage Rack for Utensils manufacturers and Black Mult...View Product →
3. Wall-Mounted Above the Counter
Wall-mounted placement is the best choice for kitchens with no usable counter beside the sink because it keeps the counter clear and places the drying surface at a comfortable height.
Install the rack so its lowest shelf sits at least 30 cm above the counter, leaving room for plates and a cutting board underneath. This position fits rental kitchens and narrow galley layouts because it does not require a permanent sacrifice of counter space. Before drilling, confirm that the wall spot does not conflict with upper cabinet doors or a window sash.
4. Inside a Cabinet or Drawer
A hidden rack inside a cabinet is best for light daily hand-washing, but it is not ideal for full household loads because the enclosed space limits height, airflow, and drying speed.
If you pick this position, place the rack on a waterproof tray or silicone mat; residual water inside a closed cabinet can soften wood veneers and promote mold. Reserve this option for households that hand-wash only a handful of items per day, and pull the rack out to dry whenever possible.
Placement Comparison Table
The table below summarizes the four positions by space requirement, drainage behavior, sink access, and the best household profile for each.
| Placement | Space required | Drainage | Sink access | Best for |
|---|---|---|---|---|
| Counter beside sink | 40-50 cm depth, 35-45 cm width | Drip spout faces the sink; dish mat optional | Full access | Daily hand-washing of full loads |
| Over the sink | No counter space | Water falls directly into the basin | Restricted while the rack is in place | Small kitchens with narrow counters |
| Wall-mounted | Vertical wall, no counter | Needs a tray or directional drip channel | Full access, but upper cabinets may be blocked | Rental kitchens and galley layouts |
| Inside cabinet | Cabinet interior volume | Must be contained by a tray or mat | Full access | Light hand-washing of a few items daily |
How Kitchen Layout Changes Your Decision
Kitchen shape influences where the rack can go more than personal preference does; match the placement to the traffic pattern and to the position of the dishwasher and cabinets.
Small and Galley Kitchens
In a galley kitchen, the over-sink position usually wins because counters are narrow and the walking path runs directly beside the sink.
Measure the counter depth first; many galley counters are only 45 to 50 cm deep, which fits a standard rack but leaves little margin for the drip tray overhang. If the dishwasher stands at one end of the galley, keep the rack on the opposite side of the sink so the open dishwasher door does not collide with the rack.
Open-Plan and Island Kitchens
In an open-plan kitchen, the drying rack becomes part of the visible living space, so choose a finish that matches the kitchen style, not merely the model that holds the most plates.
Polished stainless steel suits most contemporary kitchens, while black iron or wooden-handled racks fit farmhouse and industrial decors. If the sink faces the living area, a wall-mounted rack behind the basin keeps the countertop visually clean from the sofa side.
Which Dish Rack Design Makes Placement Easier
The size, material, and structure of the rack determine whether a chosen spot actually functions well, so buy after you measure the position, not before.
Size the Rack to Your Daily Load
A household of four needs a drying surface of roughly 45 x 35 cm, while a single person can manage comfortably with 35 x 25 cm.
An oversized rack turns a workable counter spot into a cramped one. Measure the location first, then match the rack footprint to the volume of dishes you produce in one meal. If you cook and bake regularly, include cutting boards and mixing bowls in the calculation; they either need the top tier of a two-level rack or extra clearance above the lower tier.
Materials: Stainless Steel, Carbon Steel, and Wood Accents
Material choice affects durability and how easily the rack stays clean; 304 stainless steel is the most dependable for daily wet use.
Stainless steel resists rust, is food-safe, and wipes clean quickly, which matters because the rack lives in a constantly humid zone beside the sink. The differences show up in the drip tray and welds; low-grade steel develops rust spots at welded joints within months. Carbon steel racks with a baked finish are heavier and more affordable, but the coating can chip. Wooden handles improve grip and add warmth, and a drain rack with wooden handles is comfortable to lift even when fully loaded. For a closer look at how material choices affect long-term performance, see why stainless steel bowl racks outperform other materials.
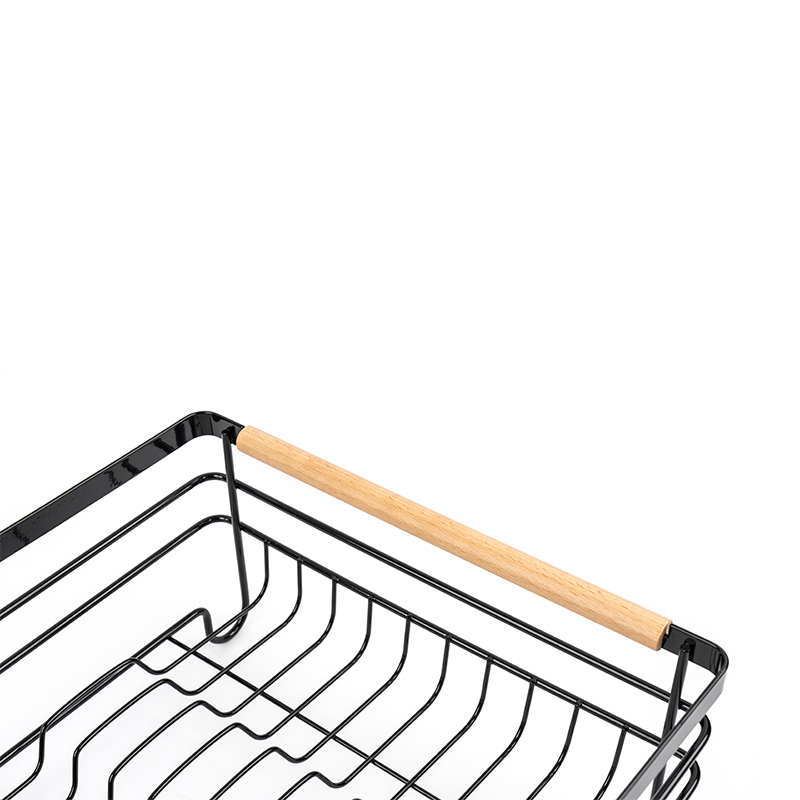 Wholesale Metal Dish Drying Rack with Wooden Handles Manufacturer, Factory - YuyYuyao City Chengze Technology Co., Ltd is China OEM/ODM Metal Dish Drying Rack with Wooden Handles manufacturers and Metal Dish Drying Ra...View Product →
Frame Stability and Quality
Frame stability matters just as much as material; a rack that wobbles on a wet counter can dump a full load of plates onto the floor.
Inspect the welds, corner joints, and rubber feet before you commit to a position. A rack with fully welded joints and a balanced base stays put even when loaded unevenly with heavy cast-iron cookware. Manufacturers that follow strict quality control test each finished frame for weld integrity and load balance, so the rack remains stable on its assigned spot for years.
Dish Drying Rack Placement FAQ
Can I put a dish drying rack beside the sink in a tiny kitchen?
Yes, if you can free at least 25 cm of counter on one side of the sink; otherwise use a compact rack, an over-sink rack, or a wall-mounted rack.
Should the dish drying rack stay on the counter permanently?
Yes, in a kitchen that is used every day, a permanent position is more convenient than lifting the rack on and off the counter, because a rack that is stored away tends to be used less and takes up cabinet space when not in use.
How far from the sink should the dish rack be placed?
Keep the rack within 5 to 15 cm of the sink edge; anything farther away creates a water path across the counter and adds extra steps to every dish.
Is over-the-sink placement better than counter placement?
It depends on the kitchen: over-the-sink placement saves counter space and shortens the drip path, but counter placement keeps the sink fully accessible for food preparation; choose over-the-sink only when counter clearance is below 40 cm.
The Bottom Line
The best spot for a dish drying rack is beside the sink, on the side that faces your dish storage, with the drain edge aimed at the basin.
Choose an over-sink or wall-mounted design only if you cannot free up 40 cm of counter. Match the rack size to your daily hand-washing load, confirm the material is rust-resistant, check that the drip tray holds enough water, and verify the base will not scratch the countertop. When those four conditions are met, the rack position becomes a permanent part of the kitchen workflow rather than something you move around and clean up after.